Edit your website by clicking it
Change text, links, images, boxes and whole sections straight in the preview, move and copy elements, and use the chat for changes that affect the whole site.
You’ll need: A website already generated by the AI Builder.
The website editor is one screen: a live preview of your site on top, a chat panel underneath. You change small things by clicking them in the preview, and big things by asking in the chat.
Open it from Websites, or from the project card in the AI Builder.
#The toolbar
The floating bar over the preview carries everything that is not an edit. Drag it by the grip on its left if it covers something.
| Control | What it does |
|---|---|
| ← | Back to My websites |
| Page menu | Switches page — only shown on multi-page sites |
| + Pages | Adds, renames and deletes pages, and reorders the sections on a page |
| Language menu | Switches the language you are editing — only shown once the site has a second language. See Translate your website |
| 🖥 📱 | Preview at desktop, 768 px and phone width |
| ↶ Undo | Steps back through your changes, one at a time |
| ⬇ | Downloads the site as HTML files |
| ⚙ | Opens Site settings |
| Publish | Puts the site online — see Publish your website |
| New | Starts a brand-new site; this one stays saved |

#Click something to change it
Click any element in the preview and a panel opens next to it. Its title tells you what you selected — Edit element, Edit box, Edit image or Add an image. Each box in the panel has its own button directly under it.
 1234
1234- Text box
- Ask the AI, then Apply
- Replace with an image
- Style, copy and move tools
#Change the wording
The current wording is already in the Text box. Edit it and choose Save. This is instant and free — no AI is involved.
For a rewrite rather than an exact wording, use the box under or ask the AI: make it shorter and friendlier, make it bigger. Choose ✨ Apply directly under that box.
#Links
A link shows its destination in Link (URL, #anchor or page.html) — a full
address, an anchor like #contact, or a page of the site like services.html.
Text and destination save together with Save.
#Images
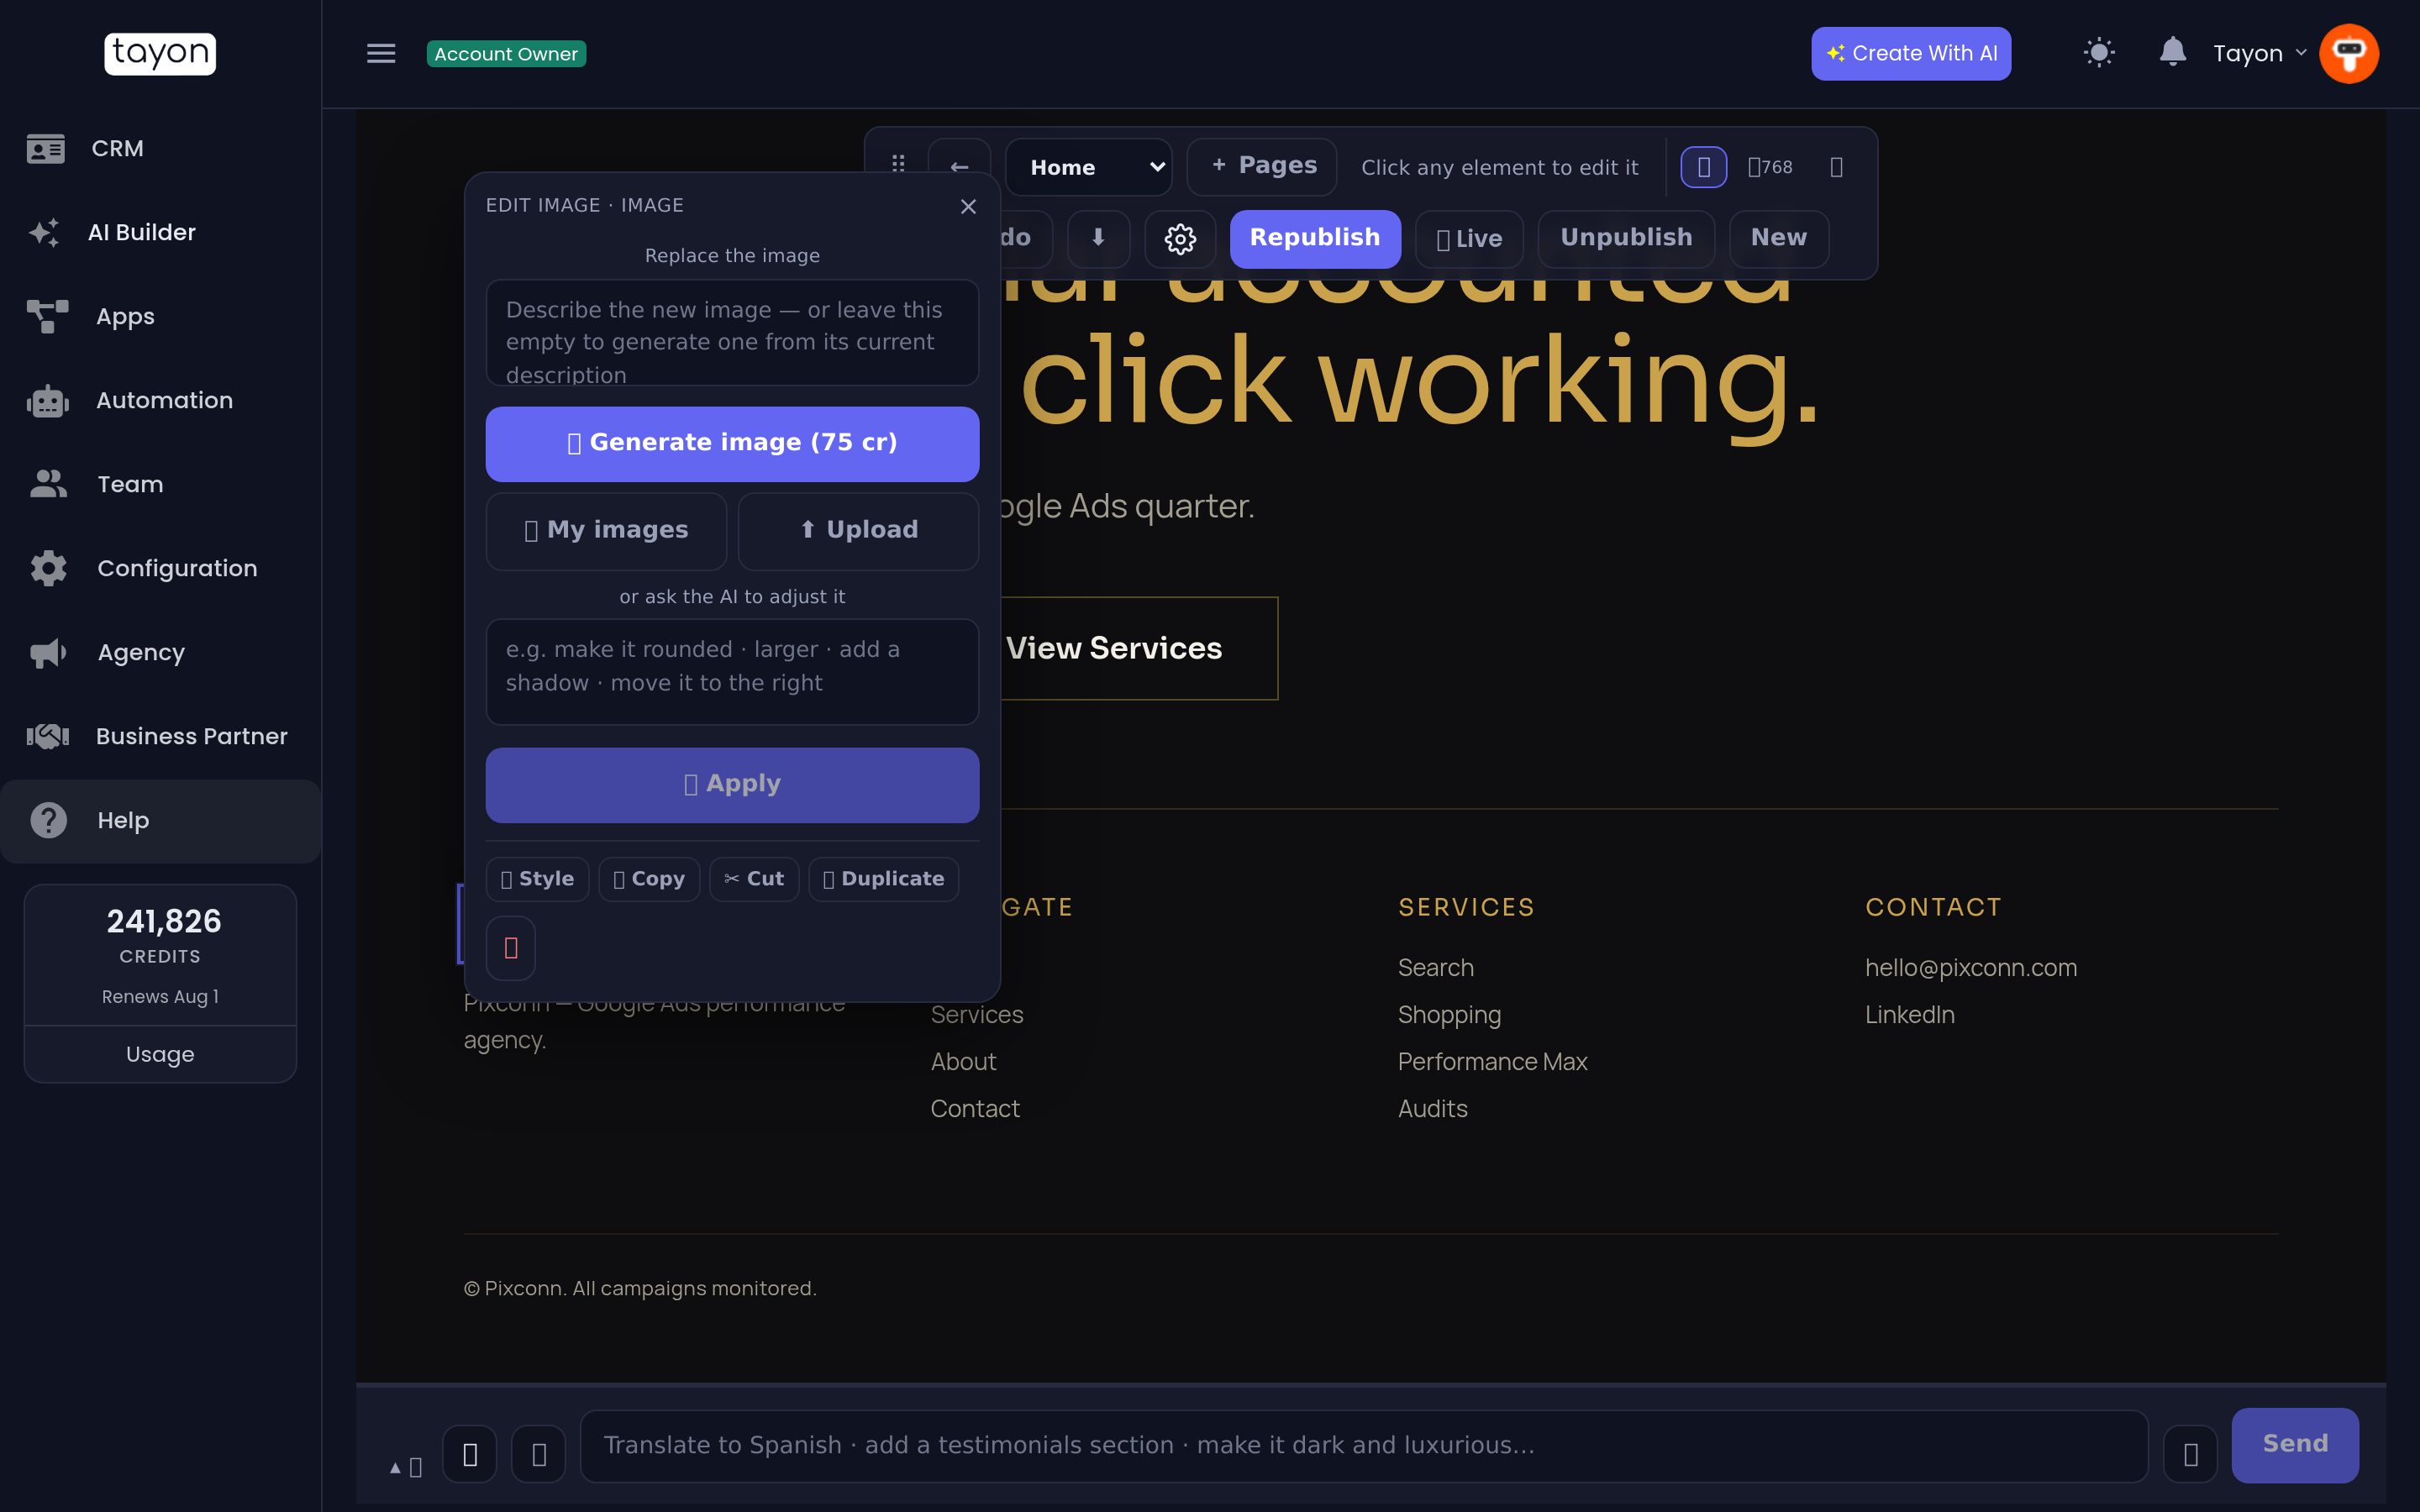
Click a picture and the image area comes first:
- Describe the picture you want and choose ✨ Generate image (75 cr). On an existing picture you can leave the box empty to generate a new one from its current description.
- 🖼 My images opens every picture your account already has — uploads and images you generated before. Picking one is free.
- ⬆ Upload a file from your computer, then choose Use this image. Nothing is placed until you do, so a wrong file costs nothing.
Below that, or ask the AI to adjust it takes an instruction such as make it rounded or add a shadow.
Empty slots are badged Click to add an image. For any other element the image area is folded behind 🖼 Replace with an image… (or Replace the image inside it… for a box that holds one), so you cannot spend 75 credits by accident.
#Boxes
Cards, framed panels, feature columns and testimonial rows are selectable as a whole. Ask the AI box for a change — change this box’s background to yellow, add a border — and choose Apply.
#Whole sections
Click the background of a section — anywhere with no element under the cursor, shown by a dashed outline — and the panel becomes Edit section.
Type what you want and choose Apply to section. The ↑ and ↓ buttons move the section up or down the page, instantly and free. The header and footer appear on every page, so they cannot be moved or deleted from one.
#Style, copy and move without the AI
The row at the foot of the element panel — 🎨 Style, 📋 Copy, ✂ Cut, ⧉ Duplicate, and 📥 Paste and ✨ Match style once something is copied — works instantly and costs no credits. Selected boxes and pictures can also be resized by dragging their edges. All of it is covered in Style, copy and resize elements by hand.
#Ask for site-wide changes in the chat
The chat panel at the bottom handles anything that is not one element:
- Translate to Spanish — adds Spanish alongside your site. See Translate your website
- Add a testimonials section — added to the page you are viewing
- Make it dark and luxurious — swaps the whole colour scheme
- Change the background to a soft cream — changes only the colours you named
- Use this as the tab icon with an image attached — sets the browser tab icon
- Add my web bot — puts your chat bubble on the site
When a request touches several sections — update the prices on every page — the chat shows the changes it would make first. Review them and choose Apply these changes, or Cancel.
#Long requests
While the chat works, a progress bubble in the conversation shows what it is doing — Working out the changes…, Preparing your plan — 3 section(s) ready… — with a timer. A request with several parts is announced up front as taking a few minutes; any other request says Still working after 30 seconds.
You can leave the page or reload it. The progress picks up again when you come back, and the answer — with its Apply these changes button — is waiting.
#Undo
↶ Undo walks back through your changes — element edits, styles, pastes, section rewrites and whole-site restyles alike. A move between sections is one step. There is no redo, so undo one step at a time and check the preview.
#Deleting things
The element panel and the section panel both have a bin button. Deleting asks for confirmation and can be reversed with Undo.
#If an edit does not stick
- Check the panel title — you may have selected the box rather than the text inside it, or the other way round.
- For a wording change, use the Text box and Save rather than the AI box. It is exact, instant and free.
- If an element with mixed styling inside it will not take a direct text edit, the editor falls back to an AI rewrite automatically. That takes a few seconds longer.
- Republish. Changes in the editor do not reach a live site until you press Republish.
Updated: